One pound of red jalapeno peppers.
Are you perplexed and puzzled by the plethora of peppers that presented themselves in your prodigious CSA box a couple weeks ago? Ponder no more! Pickle them! I made two different pickles, or ferments, with the peppers. One ferment is with honey, and the other with salt and vinegar.
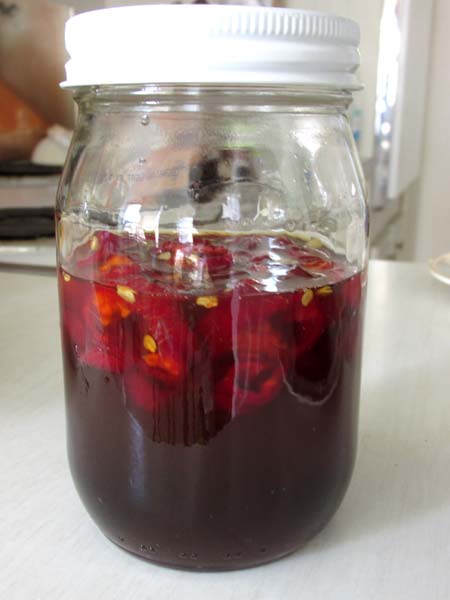
Three large chopped jalapenos in about a cup of raw wildflower honey. The ferment is about two weeks old.
Hot peppers fermented in honey is simple and fairly quick. Honey is anti-biotic and anti-fungal, and and it makes sense to use it to preserve food. I chopped up three jalapeños, one with seeds and two without, put them in a small jar, and covered them with raw wildflower honey from Bee Heaven Farm. I filled the jar to the shoulder, screwed on the lid. Within a day, the honey grew liquid and syrupy, and by the second day, small bubbles appeared among the chunks of peppers. They were fermenting! I burped the lid every day for a week until the ferment settled.
I started tasting teaspoons of honey on the third day. It was sweet fire! I made a sweet-hot-sour vinaigrette with apple cider vinegar and it was delicious on a green salad. The dressing would be good on a fruit salad too. The hot honey could be used to make a sweet and sour sauce, or simply drizzled on BBQ ribs — or chocolate ice cream. Holy mole! And still-crunchy chunks of sweet pepper could be added to salsa or stir fry for a mellow kick.
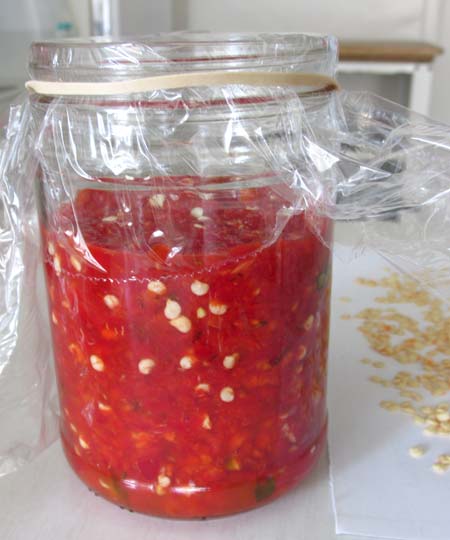
Sriracha, day one of fermentation. On the right are seeds saved from five peppers.
That done, I still had three-quarters of a pound of peppers left. It’s too much to eat before they go bad. Time to make hot sauce! And not just any sauce, but sriracha. I found two versions online, one fermented, and one a quick pickle in vinegar. The fermented one caught my imagination.
Out of the 10 peppers left, I seeded half (saved the seeds to grow my own) and cut all of them into chunks. They went into the food processor along with two garlic cloves, some brown sugar and salt. The finely chopped mixture was spooned into a jar and pushed down so its juices would cover as much as possible. It will sit on the kitchen counter for 3 days to ferment. Then the recipe calls for heating the ferment with vinegar, and straining to make the finished sauce. (You could also add a dash of fish sauce for a bit of umami, and maybe a tablespoon of honey to mellow the fire.) Click on the link to get detailed instructions for both versions of sriracha, fermented and vinegar based.
Happy pickling, hot heads!